.JPG)
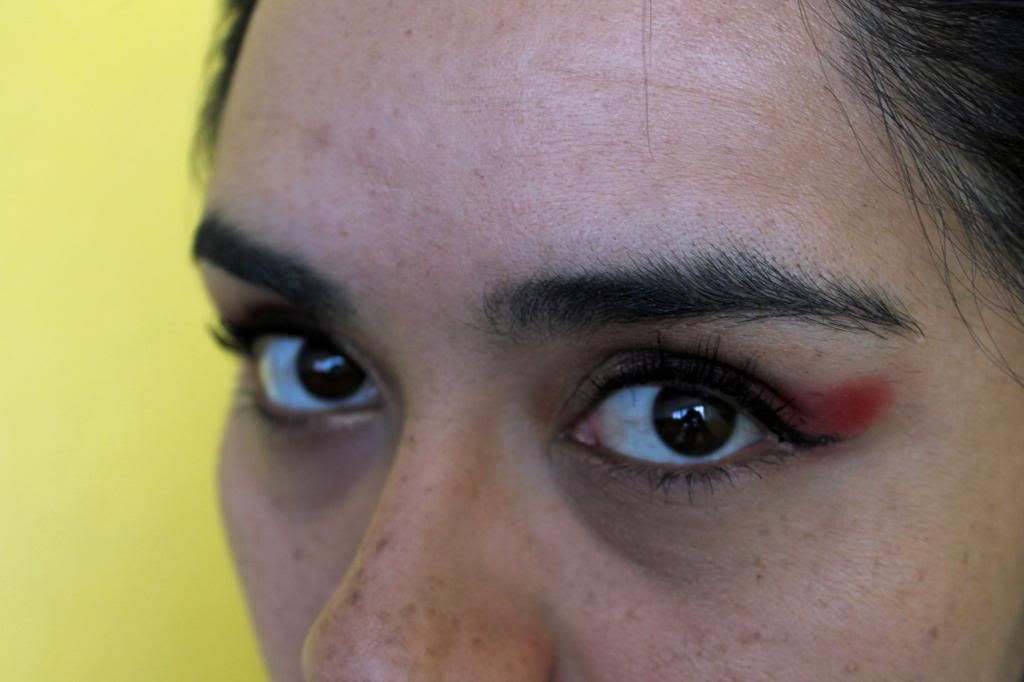
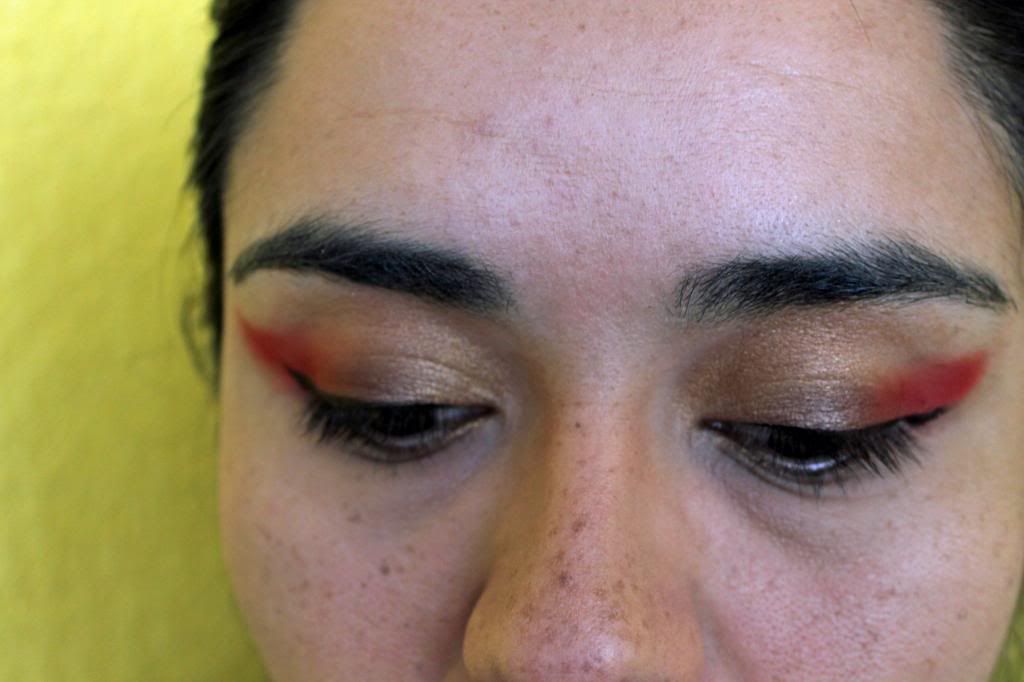
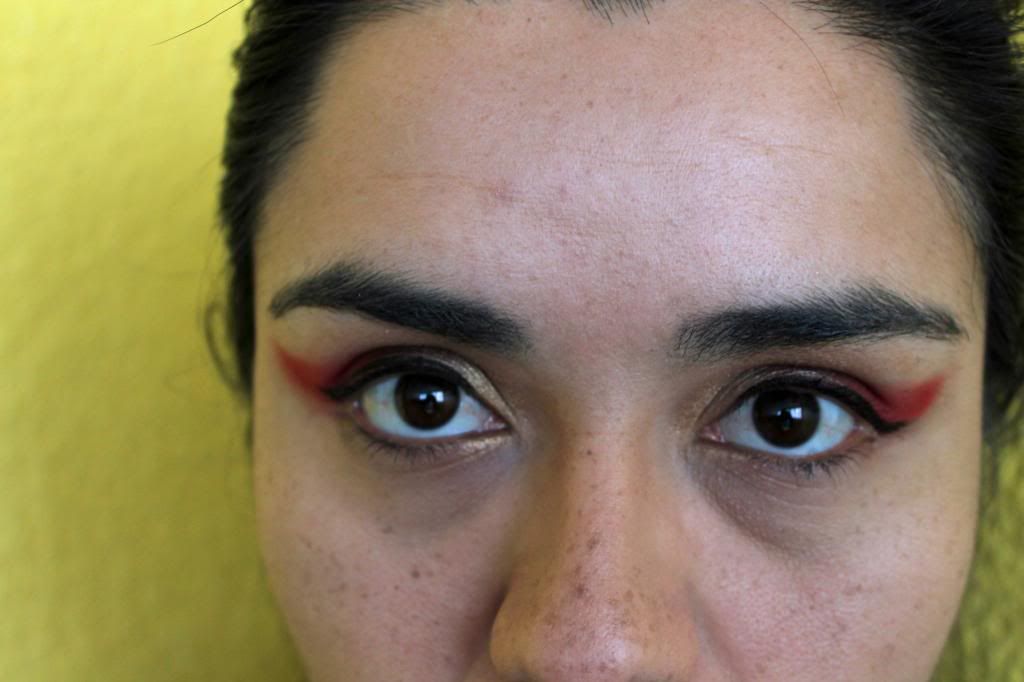
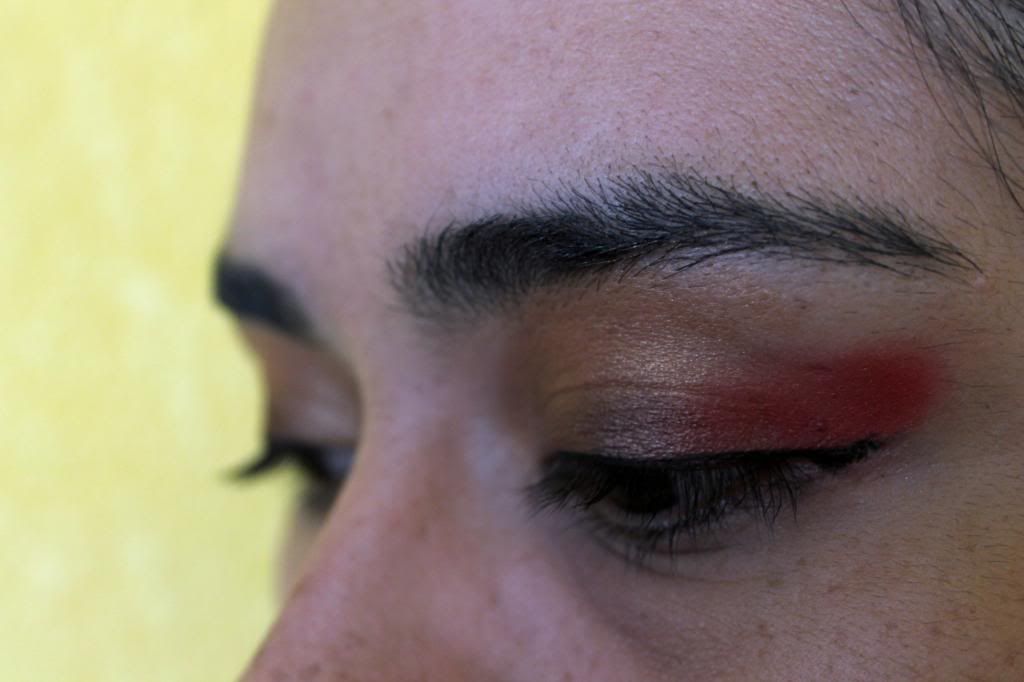
Aclaro que tomé las fotos cuando estaba haciendo el reto de Gong Li, así que me disculpo de antemano si las sombras rojas evitan que se vea mucho. Sé que debí hacerlo sin sombras, pero desafortunadamente para mí es complicado hacer una entrada con tantas fotos entre semana, así que tuve que ocupar mi tiempo libre del fin de semana con luz natural para hacer esto. También les aclaro que no siempre hago todos los pasos ni uso todas las herramientas a diario, porque si puede ser algo lento, pero los aclararé lo que si hago a diario.
I took the pics when doing the Gong Li makeup challenge, so I’m sorry in advance if red eyeshadow doesn’t allow to see. I think I should have done it with bare lids but unfortunately it’s pretty hard for me to take pictures during weekdays, so I had to do it during weekend with natural light. I also need to notice this is what I do for special occasions, since it may take too much time for everyday wear, but I will say which steps I do on a daily basis.
Aquí están mis pestañas al natural, pueden ver que si bien son largas también son lacias –prácticamente de tejaban.
Here are my lashes without anything done. You can see they are naturally long but very straight.
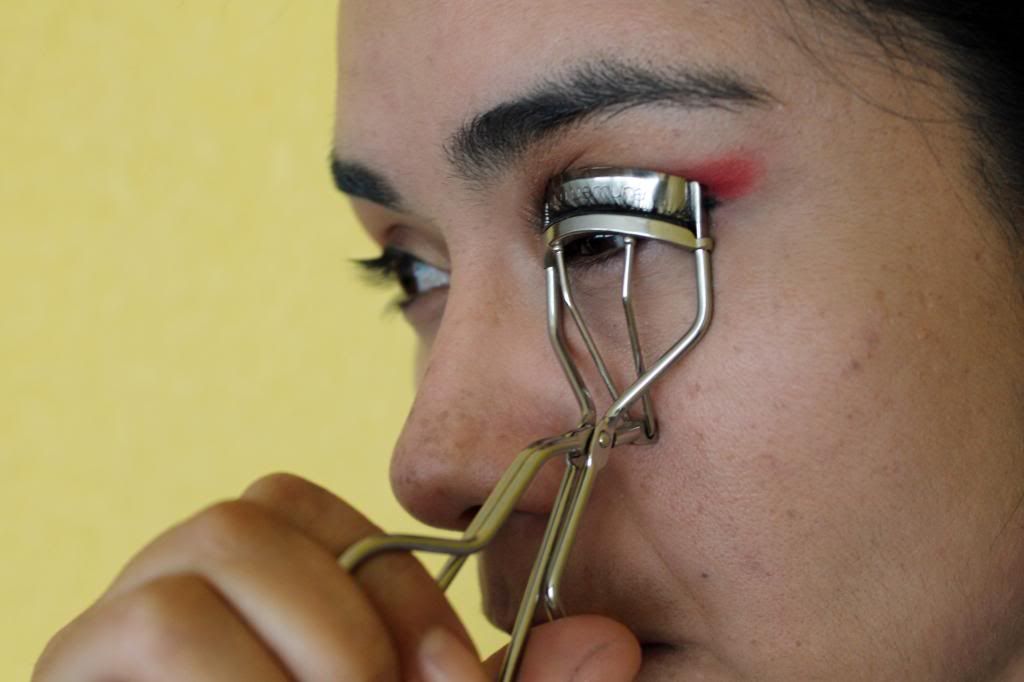
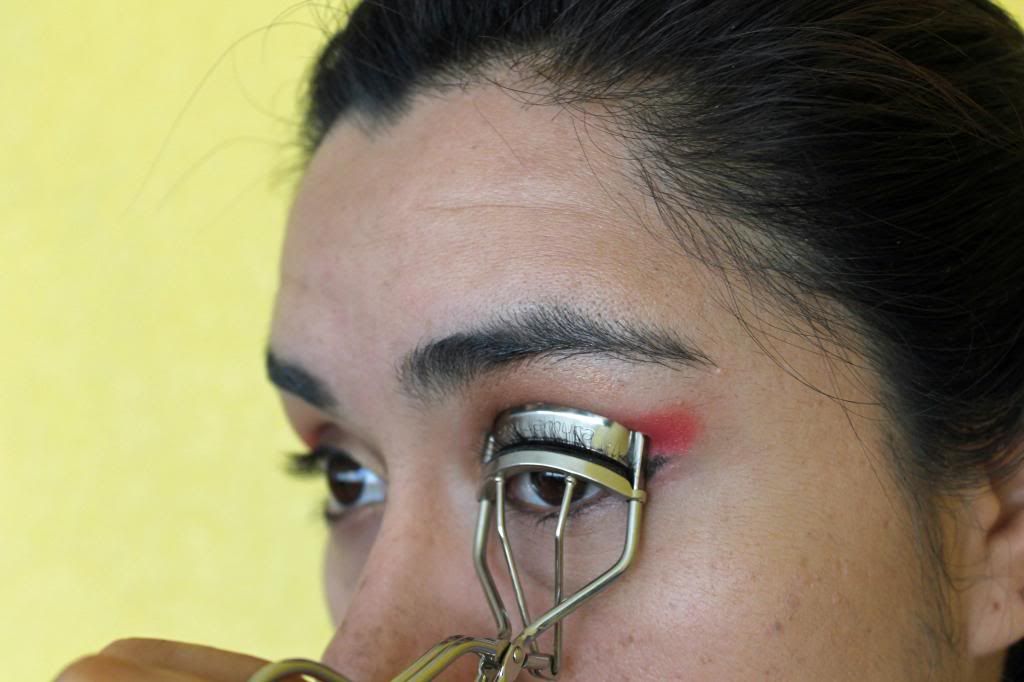
Step 1: Rizar la pestañas / curl lashes
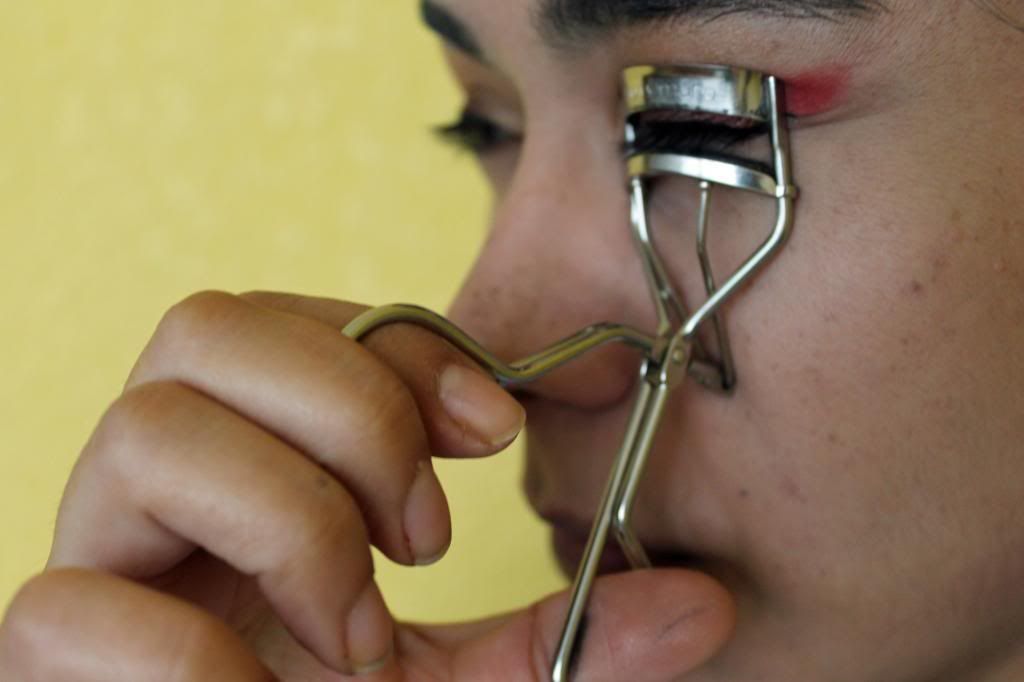
Uso el rizador de Shu Uemura para este paso, aunque también una cuchara sirve. Rizo lo más cerca de la base de las pestañas que puedo llegar sin pellizcarme los párpados, de ahí en medio y luego en las puntas de las pestañas. Esto lo hago a diario, dado que mis pestañas son de tejabán.
I use the Shu Uemura curler for this step, but you can also do it with a teaspoon. I curl the closest to base of lashes I can get without pinching my lids, then in the middle and the the tips of lashes. I do this on a daily basis, since my lashes are very straight.
Step 2: Aplicar primer / Apply lash primer
Lo aplico en todas las pestañas, como si aplicara mascara. Esto también lo hago a diario salvo que vaya a usar una mascara a prueba de agua que puede mantener el rizo por si misma. Sin embargo, me gusta tanto la Nourishing Mascara Base de Shiseido que incluso la uso con las de a prueba de agua.
I apply all over the lashes, as if I was applying mascara. I also do this on a daily basis unless I’m using a waterproof formula that can hold curl on its own. However, Shiseido Nourishing Mascara Base works so greatly for me, that I even use it for waterproof mascara.
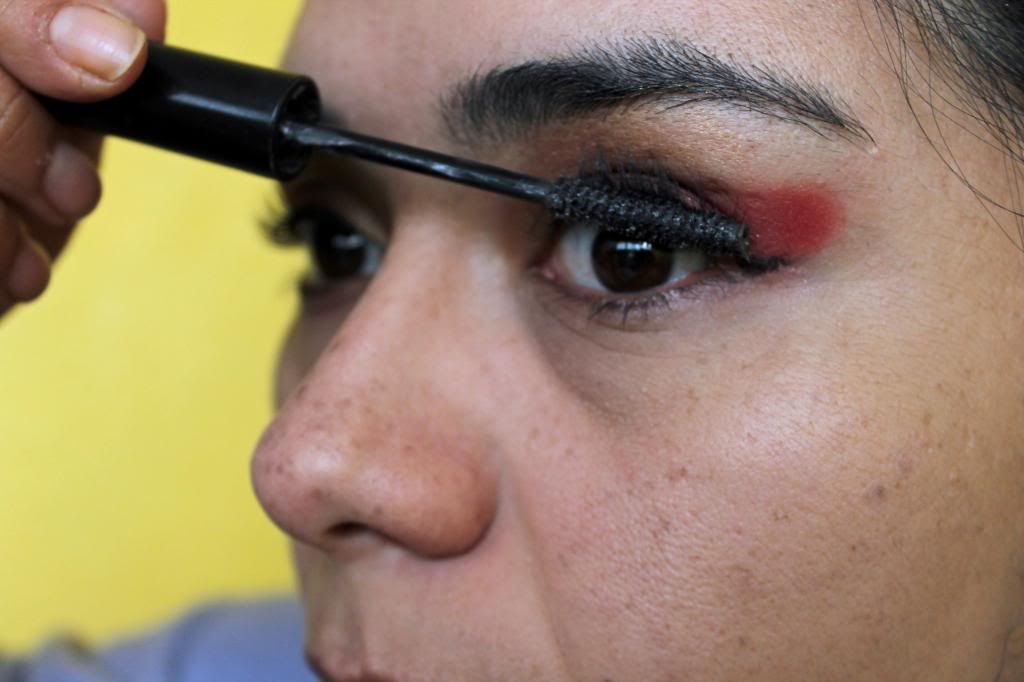
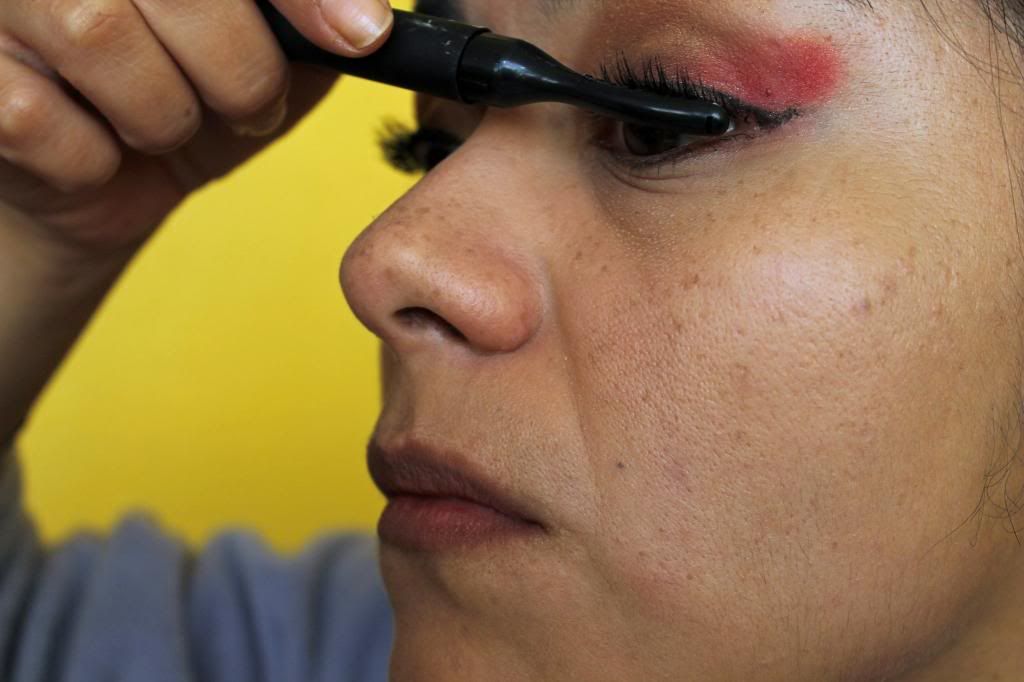
Step 3: Aplicar mascara en la base de las pestañas / Apply mascara con lash base
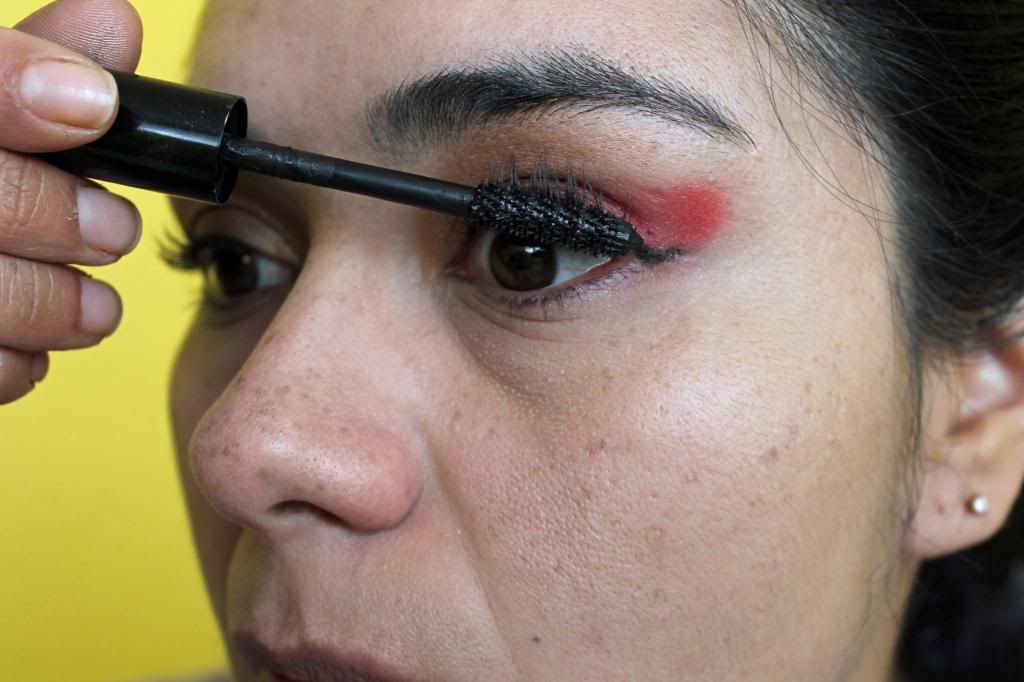
Si, solo aplicas en la base y lo dejas que se seque unos segundos. Esto funciona como tightline, así que hace que las pestañas se vean con más volumen. Esto también lo hago a diario, salvo que ya esté de prisa y entonces aplico la mascara como siempre. Puedes usar un lash guard para evitar que se manchen tus sombras pero toma en consideración que esto toma más tiempo –no pude tomar la foto usando los dos, dado que sólo tengo 2 manos y ocupo uno para tomar la foto.
Yes, you just apply it there and wait for it to dry. This works like thightline, so it makes lashes look fuller. I do this also on a daily basis unless I’m really on a rush and then I apply mascara the regular way. You can use a lash guard to avoid getting mascara on you eyeshadow, but keep in mind it takes a little more time –couldn’t take the picture using both since I only have two hands and need one to take the picture.
Step 4: Aplicar mascara de forma vertical / Apply mascara in a vertical way
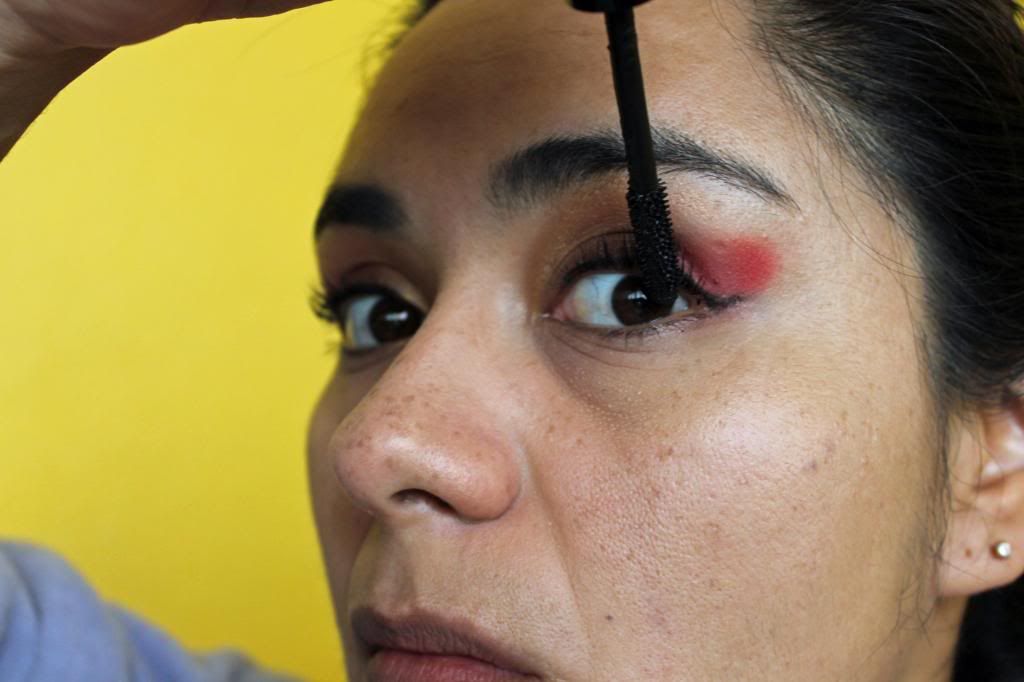
Toma el cepillo de la mascara y aplicala de forma vertical. Esto hace que las pestañas se vean más largas y no te preocupes si tienes algunos grumos, van a desaparecer en el próximo paso. Espera algunos segundos.
Take the spoolie in your mascara and apply it vertically. This makes lashes look longer, and don’t worry if you get some clumps, they will go in the next step. Wait a few seconds.
Step 5: Aplicar mascara como normalmente lo harías / Apply mascara the regular way
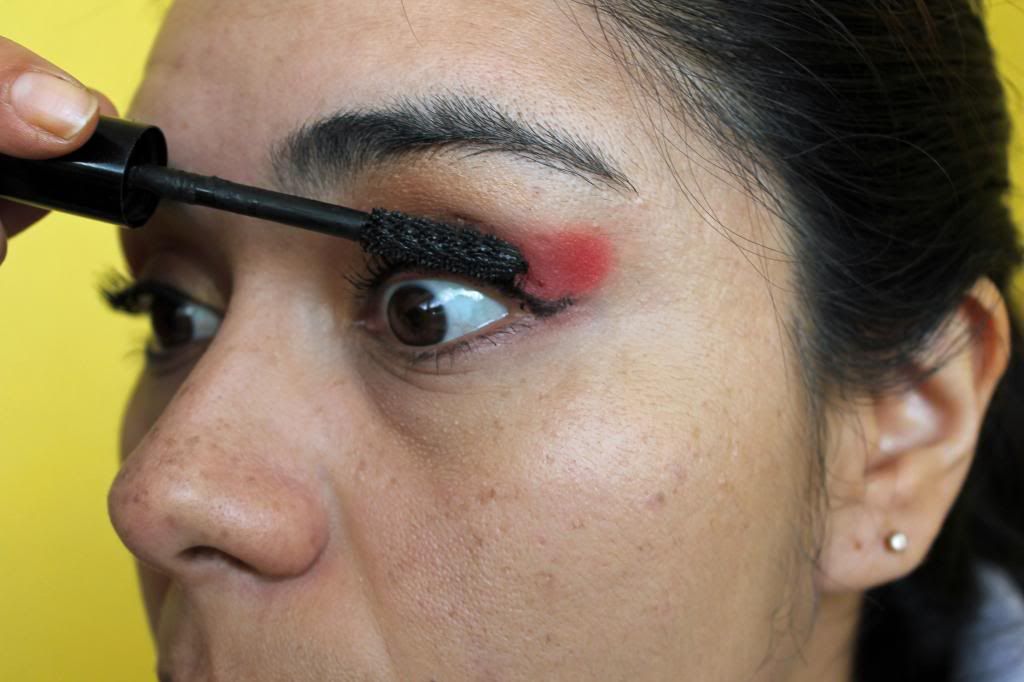
Esto se va a llevar los grumos y las pestañas se van a ver aún más largas y con más volumen. Si aún quedan grumos, puedes usar un peine para pestañas que quitarlos.
This will take away the clumps, and make them look even longer and with more volumen. If you still find clumps, you can use a lash comb to take them out.

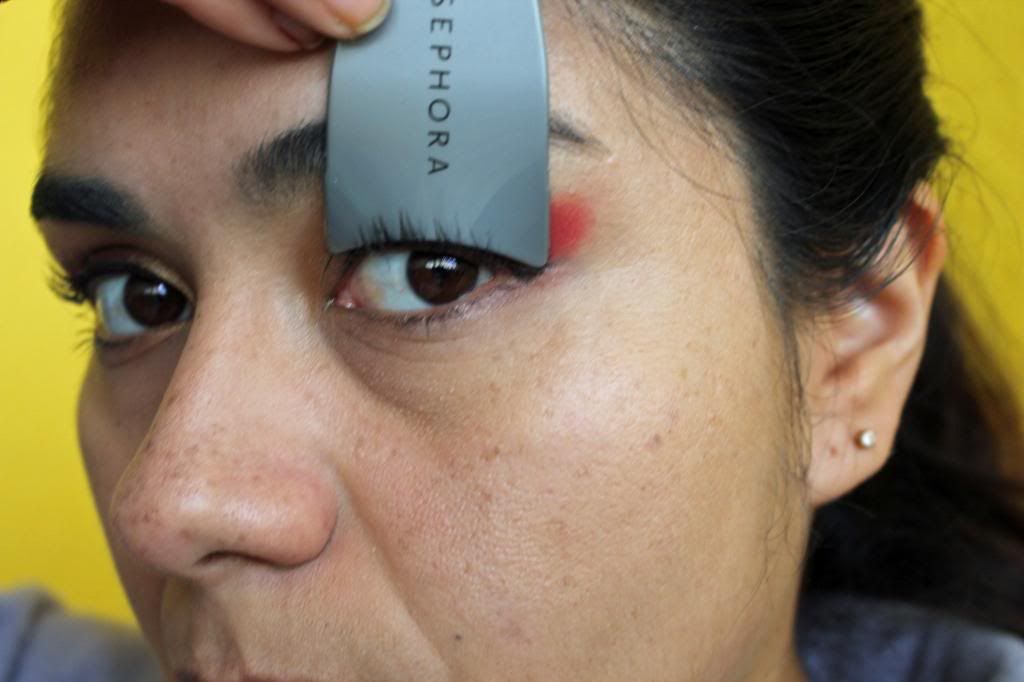
Step 6: Sellar el rizo con el rizador de calor / Seal curl with heat curler
Este es un paso extra, y asegúrate de prender el rizador antes de empezar todo el proceso para que esté a la temperatura correcta cuando lo uses. El calor trabaja con la mascara para que las pestañas se vean más largas y el rizo dure más.
This is an extra step, and please make sure you turn on the heater before starting with this so it gets to the right heat when you use it. Heat works with the mascara so lashes can look even longer and make the curl to last longer.
Esta es mi técnica actual. Lo que aprendí en Nars son los pasos 3, 4 y 5, mientras que el resto son míos. Espero que les sea de utilidad y que les funcione tan bien como me ha funcionado a mi.
So, this is my current technique. Steps 3, 4 and 5 are the Nars technique while the rest are my add ons. I hope you find this helpful and it works for you as good as it has worked for me.


muchas gracias por los tips hermosa! definitvamente necesito más grosor en mis pestañas
ResponderEliminarbesos
http://www.ohmydior.org/
Ojalá te sirvan, creo que con esta técnica las pestañas se ven más largas y con más volumen. Saludos!!!
EliminarOhh interesting! The Suqqu makeup artist always uses the wand at a bunch of angles when she does mascara on me -- she also comes in from above the lashes as well as below! I must try your way to see if it creates a similar effect without taking HOURS every day :D
ResponderEliminarI learned that at Nars counter, and seems it works... my lashes look a lot better lately IMHO :)
Eliminar